The following is a guest post from Becky Whitney of Rub Some Dirt on It-
I found this craft this winter on one of those days when my plans were cancelled due to weather. No plans, nowhere to go, no option to leave the house, our morning hour of TV come and gone. I had to come up with something to pass the morning. I don't really have a treasure trove of arts and crafts supplies lying around the house, so I had to make do with what we had. A quick scan revealed one egg carton. And according to Google, "egg carton arts and crafts" reveals zillions of ideas, including a way to make your own awesome dump truck in less than twenty minutes.
I mean it. It's awesome and easy. Trust me. Although I'm finding the directions a bit hard to articulate. I hope the photos help!
You need only three parts of the egg carton. One third of the top (2 segments). One half of the bottom (3 segments) and one separate segment of the bottom. Did I explain that well? Well, here's a visual.

Okay, take the big one, the half of the bottom part of the carton. It should have three segments. Cut out the bottom of the middle segment so it looks like this:

Then take your one segment of the top and glue it to one end of the part you just cut holes into. That is the cab of the dump truck. It's supposed to look like this, and I think the reason you cut the holes is so it gives the illusion the other four segments are wheels. I should have cut mine more. Also, I used Tacky Glue and Elmer's Glue and the top was still flying off so I recommend scotch tape as well.

Now is the tricky part for me to explain. Take the part that you have left, flip it upside down and place it on the bed of your truck. That is the dumper part of the dump truck. You can imagine it lifting up and spilling its contents behind it.

The website where I found this craft didn't give me many ideas as to how to secure the dumper to the back of the truck. The author was a big fan of imaginative play. Me, too, but I'm also a big fan of not losing the most important part of my new toy. So I just cut four holes and looped white pipe cleaner through so that the dumper slides up and down easily.

And that's it! You're done. A Do-It-Yourself Dump Truck. Now you can decorate. I was warned that washable markers wouldn't do the trick but I think they were completely satisfactory. We started with the cab and drew my son and his copilot (our dog, see him on the sticker?) in the windows. Jackson was psyched to get his driver's license on his first try.

Then we colored and went a little sticker-crazy. I actually stepped away to get my daughter up from her nap and expected to come back to a markery nightmare, but he was happily painting the truck with his red marker.

I colored in the four wheels, (wished I had a cool sticker for those)...

...double checked that the dumper was on securely...

...and my little boy has a cool new truck that cost me nothing that I didn't already have handy in the house. And it took me about twenty minutes from start to finish! You could always do more in the decorating department, but I figured for our first try at this, we'd keep it simple. He loved it no matter how it looked.
 Found the perfect cargo.
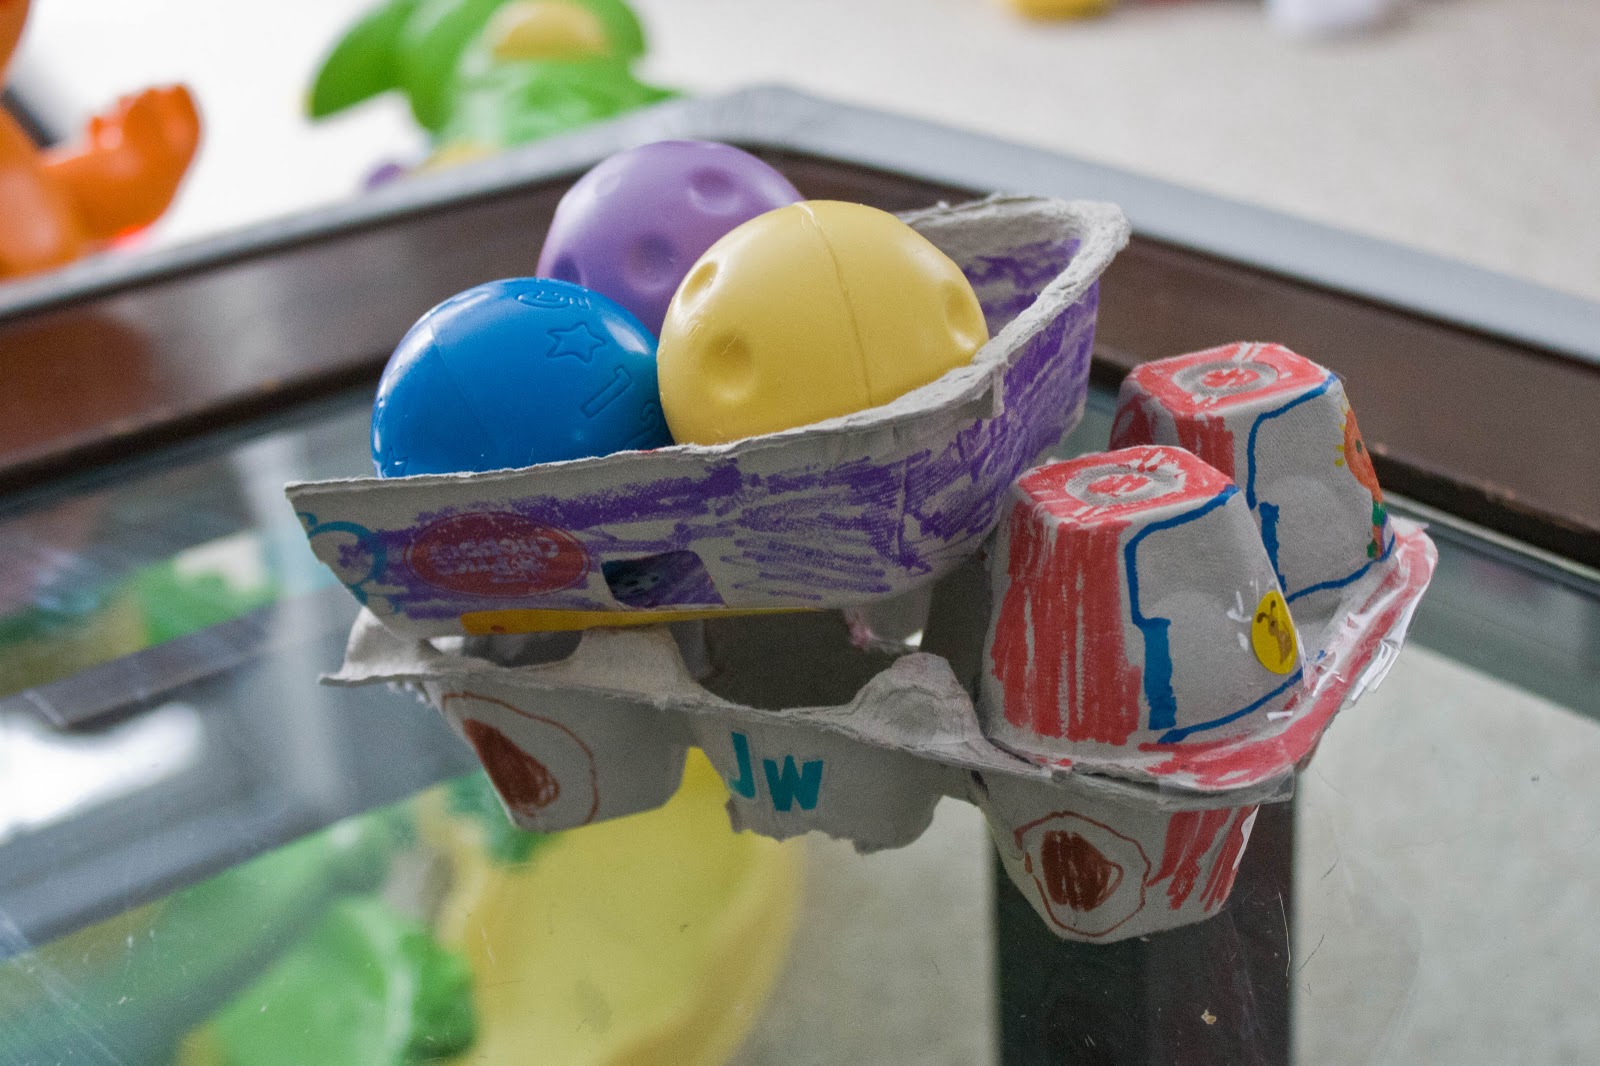
And if you're lucky, your kids will also turn it into a catapault. Kids are so creative like that.


A DIY Catapault and Dump Truck. Not a bad way to spend twenty minutes!
Photos courtesy of Becky Whitney.
Comments